Methods of Making
Brief: Consider how you might generate specific ideas in relation to analogue photography and how you might further your ideas from semester 1 in material form.
After exploring your engagement with different lens and output formats, consider how these mediums and formats affect, challenge and perhaps transform these ideas.
Introduction to Film Development

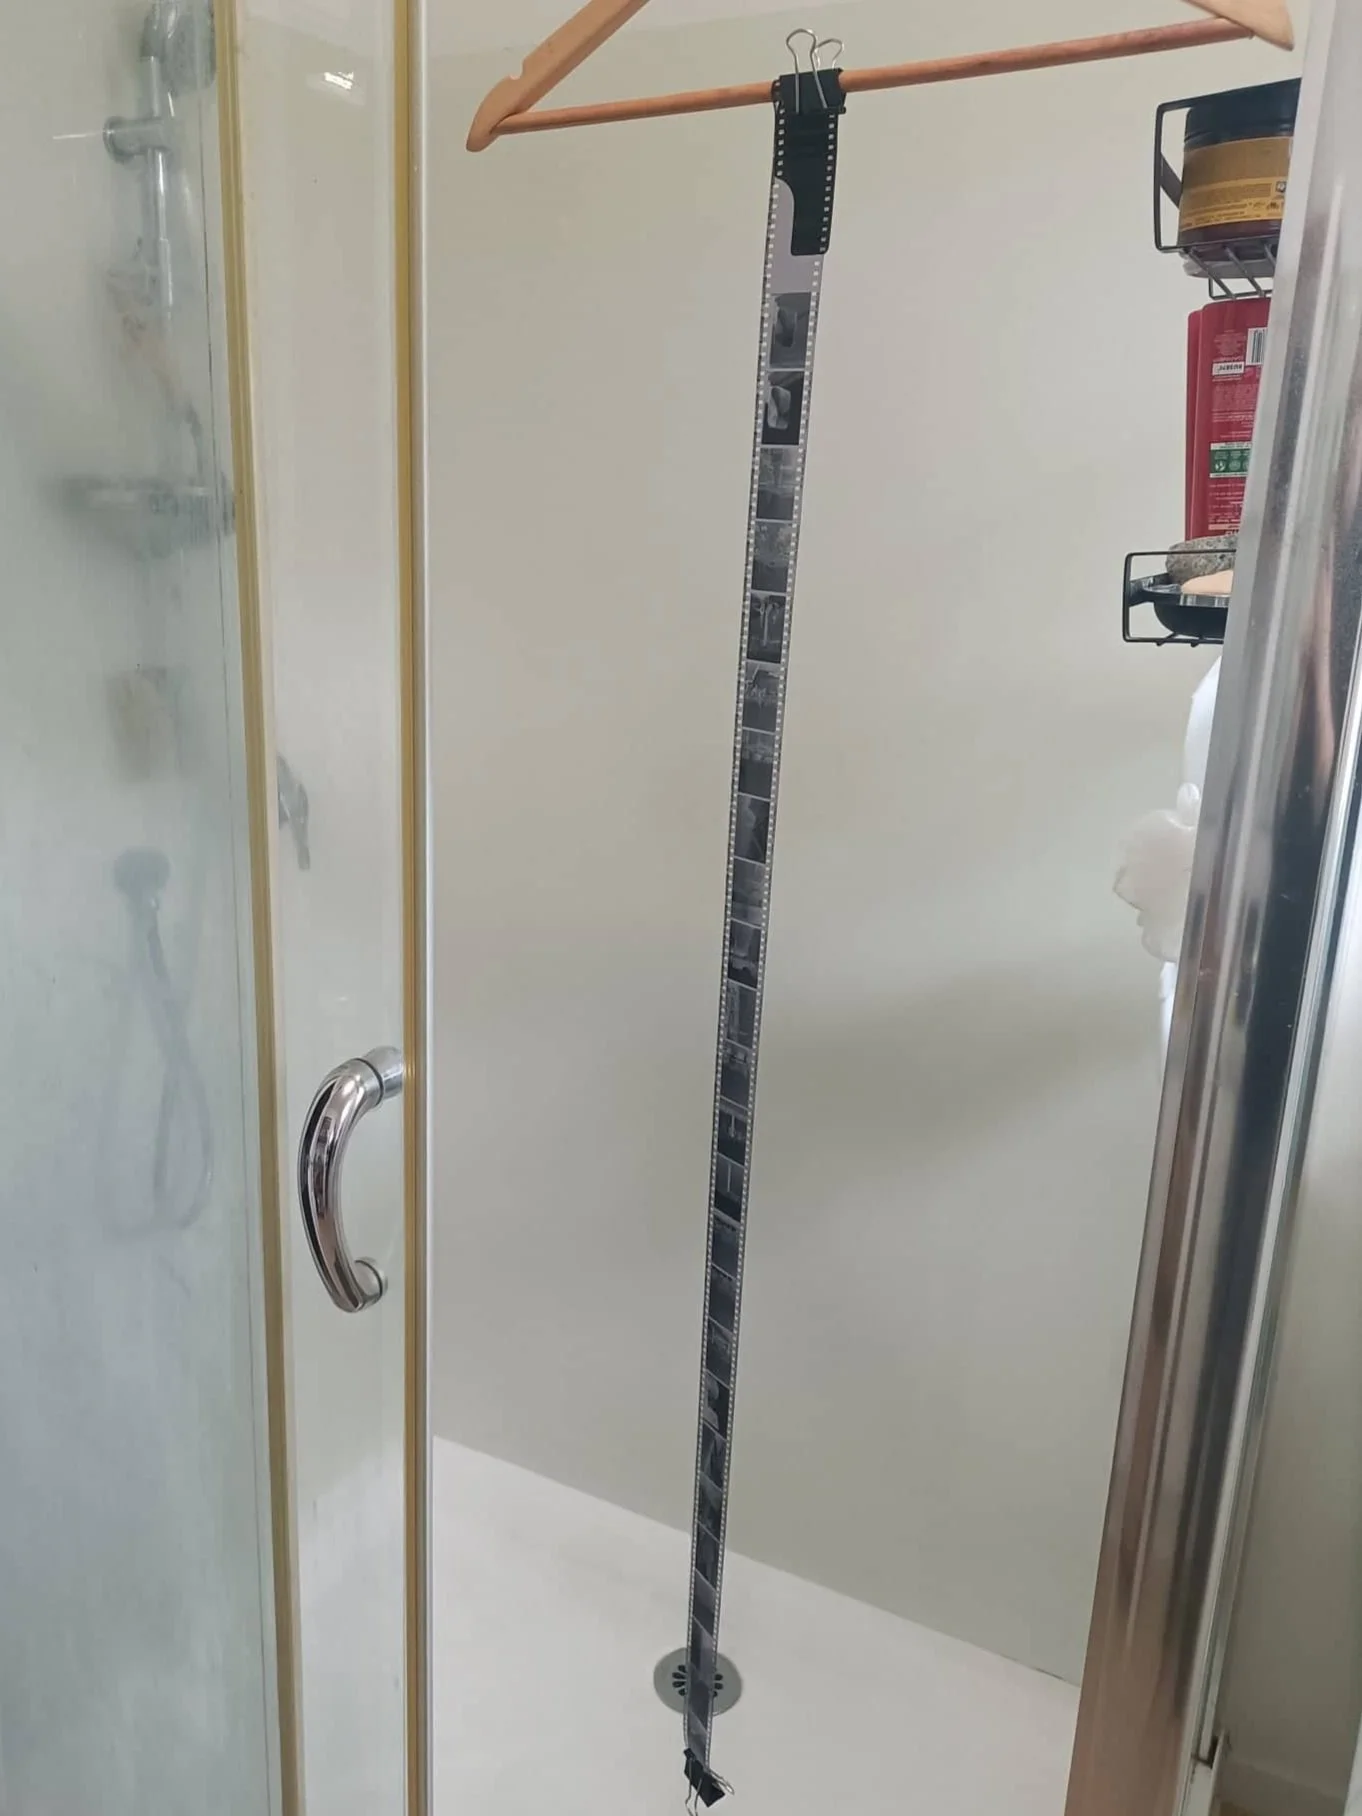

As there was no solid brief sounding the use of the Hasselblad I took this time to become more familiar with the mechanism and the development process. This was my first introduction into developing photography film by myself. I have previously developed 16mm cinematic film however, that used different tanks and the 16mm film is a lot longer than other varieties of film. I had done a lot of research around photo film development as I have wanted to develop film myself for quite sometime. I found this experience extremely valuable as now I can develop 16 mm, 35mm and 120 all at home. After getting the basics down at AUT I began to create my own developing kit which I sourced from Trade Me, Auckland Camera Center and Black and White Box. While the tools that I am using aren’t top of the line I still produced a satisfactory result when developing my first batches of film. After a while of playing with different temperature and figuring out how many times I could reuse certain chemicals.
To start of I was using my at home ‘scanning’ technique with a camera on a tripod, white blank screen facing up and a couple of books stacked on-top so that when I took the photo the pixels from the screen wouldn’t show through. Afterwards I would put it through photoshop and turn the negatives into positives. However, while they held up online, Instagram, they where not giving the quality that I would want for printing. So I learnt how to scan them at AUT with the scanners.
Early Film Works


Since this brief was soon after our introduction to the Hasselblad and was in relation to the use of film, I thought back to when film was a more popular source of photography. I have always enjoyed architectural photography and so I found myself on the Auckland Council Libraries page looking at old architectural film photos of the area, Blockhouse Bay and New Lynn, that I grew up in. This began my interest in buildings and what/how they look like then compared to now.
From there I began to take photo in 35mm and continued my research until I came across the old post office in New Lynn. I was so fascinating to me as it hadn’t been moved while other modern buildings had risen around it.
While it looked out of place it still some how was cohesive with the sounding structures to be unnoticed and ignored by most.
From there I wondering what other structures where like this. This lead to my interest in houses build around and in that 1910’s style. They where again something that was frequently overlooked unless protected by the government. I began to think about how we always look at these places, or monuments so what was their view? What did it look like to look through their windows? I looked at quite a few different historic buildings and places however none of them felt right.
I had hit a bit of a stall in the development of the project. I felt that I had somehow wandered down a path I didn’t feel comfortable, or like I was the right person to be going down this avenue of development.
From there I struggled to find the right avenue but I couldn’t find a way forward so I backtracked to what I knew. Film. I decided to look at the development and layers of the film. This was when I came up with a new concept of something being stuck and trapped in the layers. After all when the film is exposed for the first time it traps light in, is then developed to seal it forever.
I started thinking about all the portraits that I had taken in semester one and how they where trapped. While they where taken digitally I started to think about portraits taken on film around that 1910’s time period and how a part of those people where trapped in those images.
An idea that I began to play with is trying to bring those people out or them trying to get out of the image themselves and the layers trapping them.
I began to think about how I would show this and I came up this the concept of take 15 - 20 images in the lighting studio, developing, scanning and printing them on transparent paper. Then hanging them roughly 25cm apart to create a layered effect. Then to represent the light trapping them, place a light source, lamp, behind the work to shine through so you can see all the images in their layers as one final body of work.
I wanted to make the light turn off and on to show the use of the shutter in the camera and the light that traps the image/person in place.
Final Body of Work: Lighting Studio Test


With using a film camera in the lighting room for the first time, I wanted to iron out some details. Eg: How to actually do so. I first used a Nikon to take some test shots to get the lighting, framing and exposure right. Along with the digital Nikon I took two rolls of medium format film on a Hasselblad. I had the Nikon on a stand, which I also used for the Hasselblad to get consistent framing and lighting. I used masking tape on the floor for the model so that they would be able to tell when they would or wouldn’t be in frame. I used a large soft box to give a softer light with a larger area allowing the model more room to move.
Final Lighting Studio Shoot


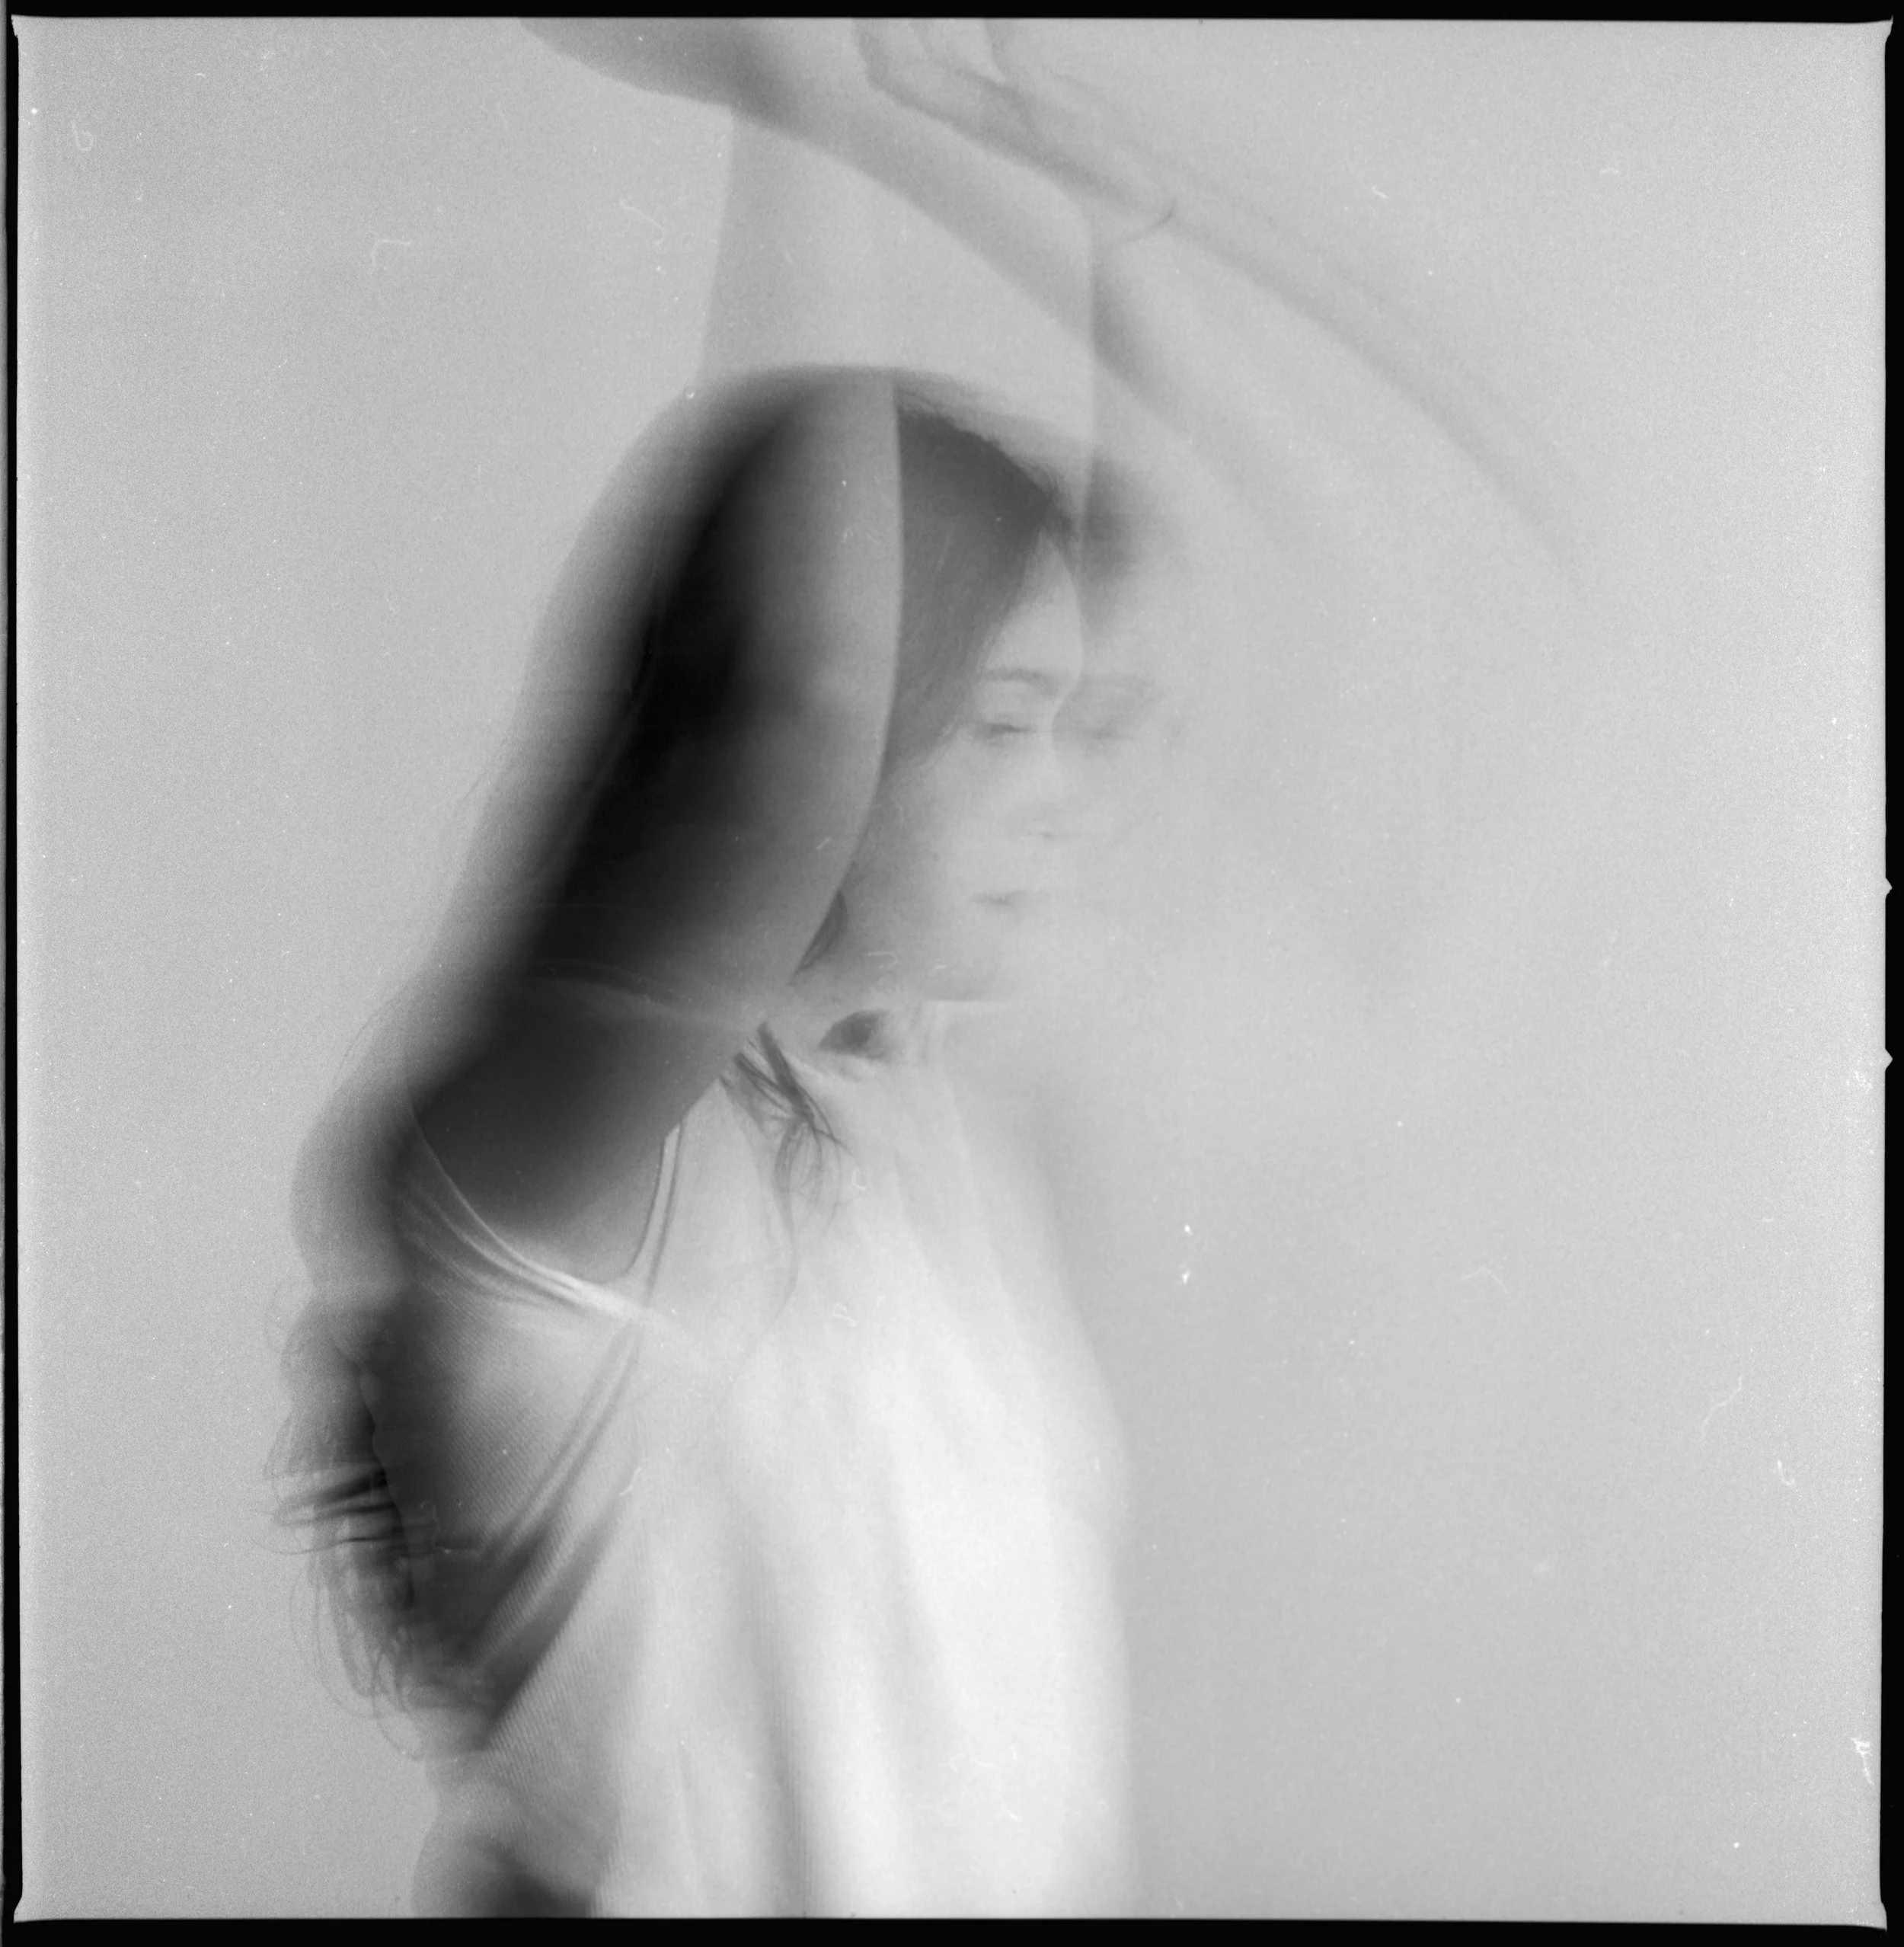


The series of images above are photographs taken in the Lighting Studio on a Hasselblad with Medium Format Ilford HP5, and a large soft box. This is a compilation of all the images that came out of that shoot, as I wanted to be able to still display them but not have them in the installation. This is because the work wasn’t about a large amount of photographs and I felt that it would distract from the ideas of the work.
These photographs where taken with the model walking, jumping and dancing through the images. When they would get to a certain point I would take the photograph with soft box flash and it would allow for the camera to capture the drag and movement of the model.
Final Body of Work
Up until a couple of weeks before the exhibition, I knew how I was going to install the body of work. I was going to use film to take my photographs but I still didn’t have a subject. I needed to work out what I was taking photos of and why. I discussed with a few friends about this and decided to have the model moving while taking the photograph creating the fazing effect. This was to represent the essence of the person or thing being photographed being trapped and sealed in the image. I decided to use transparent paper to be able to layer the images physically. This allowed for a light to be shone through the images to create one combined image and when the light was turned off, they would all seperate and become individual photographs.
The window image at the front of the work, on matte paper, works as a frame that traps the models essence in the installation so they can’t slip off the page. The photograph was taken at their house drawing on that earlier work with the 35mm film, giving it a personal touch.
It was important to me that the dowels holding onto the bottom of the images, the clips holding the images in place and the frame holding the whole installation up, where all functional and helped me hang it, but also related back to the work. So I chose each piece carefully to reflect the process the work had gone through. The dowels represent the wooden spool in an old film camera. The clips are typically used by film photographers to hang up and dry their developed film strips at home. The frame also reflecting on what would be used to hang up the drying developed film.
Another key component to this installation was the light source. It needed to be able to turn on and off automatically, so I bought a plug timer, which you cannot see in the installation, to automatically turn the light off and on every 15 minutes. The light is supposed to symbolise the film being exposed to the light creating the image. I wanted the viewer to be able to walk around the installation from different angles as the images change with the light hitting, or not hitting certain areas of the paper.
