Practice Development, Semester 1
Week 1 - 6
This year started out with a lot of research as not only was I developing my practice in the studio but also in theory as the curriculum intertwined with our practice as well. I found this quite helpful and useful as I could not only progress in both classes at the same time but also not have to split my focus as much.
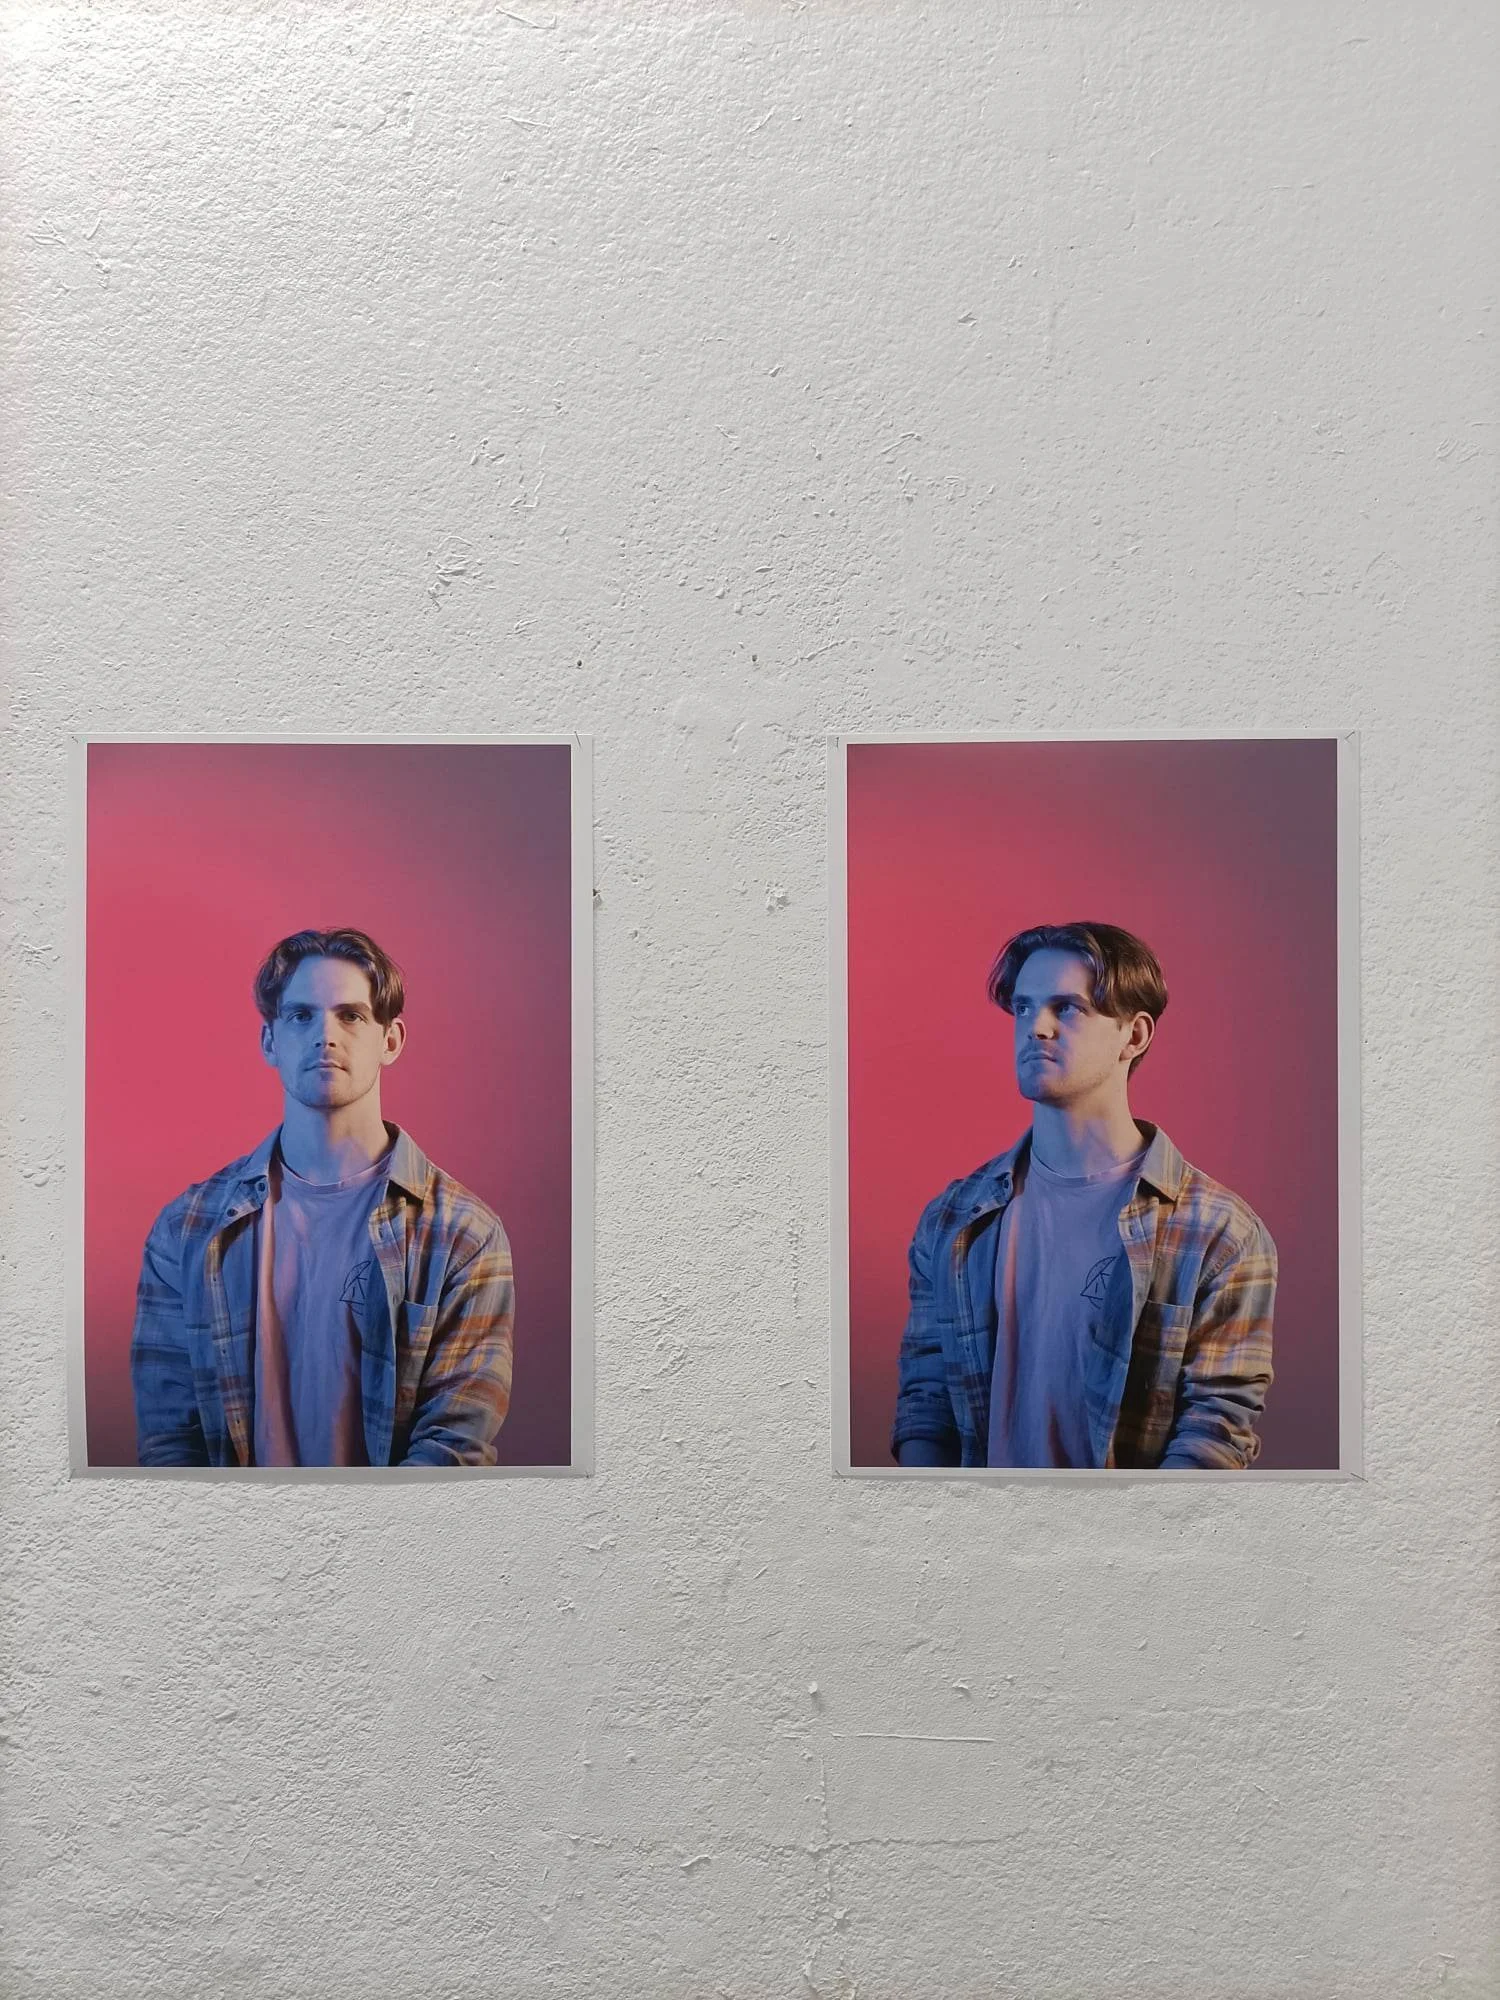
The theory research lead me to a few artists and ways of thinking that informed my studio practice. Some of which are Daniel O’Tool an artist that is interested in the way that light, time, sound and colour affect his works.
His works frequently exhibit an array of colours and give a psychedelic effect. Daniel is important to the development of my practice as he considers not only what is in the work but how the surrounding world affects it and how it influences choices in the creation process. This has influenced me to take these things into consideration and to test them out when working on my practice.
Another is Yasuo Kiyonaga. They are a photographer that focuses on human nature, where we live and the people themselves. He takes those images and develops them into something new by changing the shape and significance of the original works. Although his main focus is photography, he doesn’t limit himself to one medium. He also uses paint to intertwine and create two-dimensional and three-dimensional works. This artist is important to the development of my practice as I have started to incorporate other mediums and environments into my works.
More information about this can be found in the research tab under 2023.

Daniel O’Tool
Buoyancy, 2020

Yasuo Kiyonaga
Spirit of the Forest 865, 2022
Experimental Works
My studio practice started out this year by trying a few different avenues that I hadn’t explored last year. Last year I focused on Black and White film photography however, this year I wanted to at least once play around with coloured film in the lighting studio. This was because I felt like I didn’t get to do very much of it last year.
I also experimented with exhibiting works for myself before critiques or open studios as I wanted to play around with the space. How everything felt, how it filled out or didn’t fill out the space, and whether or not the materials or paper that I used came out and was appropriate for the space. If I could go back and change one thing about my final exhibition last year it would be how big the work was. I was restrained but the paper size only being so big and it was the only roll in the country however I would have liked to explore some other options. Such as finding whole sellers or looking at some from Australia. I also feel if I had hung the work sooner I may have noticed and made that change in time.

Another experiment was using film and some gel colour panels in front of spotlights in the lighting studio. I did this as I was looking at the layering of colour and the effect in the film. I wanted to test out the layering of colour while the image was being captured. My film camera didn’t have the right connection to the University cord which connected to the power box and then to the lights. So instead I had to switch my camera to bulb, the room was completely dark with my model in front of the camera and Cornelius (AUT Photography Tech) hit the button on the power box once I had opened the lens and then closed it. I enjoyed this experiment quite a bit as was learning about some of the obstacles that may come about with film photography and how to work around and with them.
Another thing that I looked at was having my work in different environments. I had shown photography of my end-of-year installation to my theory class in a presentation and the lecture brought to my attention how the paint-splattered concrete floors of the studio against the bright reflection of my installation onto the white walls was quite an interesting contrast. This was something I hadn’t looked at before as it was just the space I was told I need to display my work in. As I looked more at the image it finally clicked in my head just how much the surroundings affected the work. This was intern something that I looked further into with lamps that were covered in coloured cellophane to change the look of the image. In the end, I decided to go in a different direction as it didn’t have a very strong contrast to the work that I was looking for.
One of the final things I have looked at so far was the different quality of prints. Last year I ended up using high-quality printing in the AUT printing lab but this time I was looking into different printers, paper and the effect each would give the work. While some made my work have darker tones others brought the piece to life. I found that the satin paper with a high-quality printer didn’t have the glossy look, which has never been my taste but did have a shine to it still which brought the work some depth and life which I quite enjoyed.
Something unexpected that camera from this, and was later pointed out by another student, was how I was used to developing my film but had to surrender the roll of colour to Red Dragon Film Lab as I didn’t have the skill or equipment to develop it myself. This was something that I hadn’t experienced in quite some time as I had been working with 35 Black and White and developing it myself for so long that I forgot what that felt like. Thus it became one of the reasons I decide to, for now, not continue with colour film photography.


Practice Development, Semester 1
Week 7 - 12

This was a roll of film that I shot inspired by the process of film development. I had the process of how I took photos and what I did with them after down, but I was still struggling with what I actually was capturing in the image. During a critique in week 6, it was suggested to me that I let the development process be my focus not only in the treatment of the image but also as a subject.
I began with this roll of film capturing how I develop black and white 35mm film at home as well as in my home studio to get an array of images from the time the image is taken to the ending product.
Looking back now I would scan them at a higher resolution. This was also my first roll to go through a new camera (Pentax MZ-5) and I was getting used to all the settings and how the camera affected the image as opposed to my previous Minolta.


Film Photographic work Installed
Another thing I looked at closely this week was the installation of these large prints. I tried a few different variations, laid out on the floor, as I didn’t want to just do the stander development process.
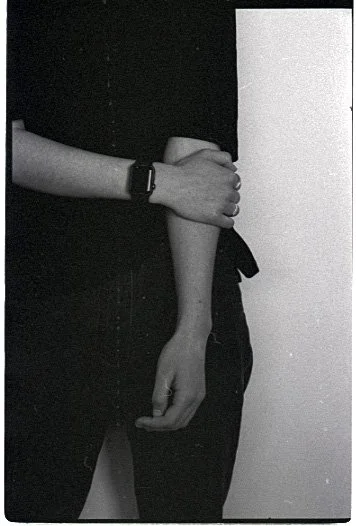
I talked to one of my classmates about the layout and she saw how the hands in each image were like a body doing a dance in each image yet still relating to one another. After this I also noticed the hands doing something, going from tight and curled to related and then to a twisted pose.
All this was accidental as I had just given the objects to a friend to hold who doesn’t do film photography frequently and saw the different ways they would hold each object with no instruction.


The images were taken on 35 B&W film Pentax MZ-5 developed scanned and printed A1 on newsprint. This work is carried on and reflects my previous roll of film capturing the film development process however, this time focusing more on the hands and what they are doing. After my previous roll of film, it was discussed that they were the main focus and pull of the work. This time I made sure all the hands were level, still relating to the development process. Some things that where discussed in the critique where
Dust that is trapped during the development and scanning process reminds you that it is film as you wouldn’t be able to get the exact same effect if you were to try to have the same effect digitally. It would look fake and never 100% correct.
With the background out of focus and hands are central and the main pull of focus the hands act as a body and each ‘Limb’ feel like a different piece of a dance
With the images enlarged to this scale (A1), you can really focus on each individual part of the hand. EG: Each nail, Finger, Knuckle
If you give someone a camera that is not used to cameras or is only used to digital cameras and see the way they hold it they don’t always hold it properly. EG: Someone holding a film camera that typically shoots digital may hold the camera in a digital camera hold. However, due to the development of cameras that camera is now out of date to the hold or the hold is out of date to the camera
When you select A1 rather than specifically telling the printer what dimensions you would like, the preset may cut off the bottom of the image as film typically isn’t the standard size for digital printing. After all, it was developed for enlarging.
The strips of paper that have not been cut from the A1 newspaper prints make the viewer see each image as one body of work
These are some of the things that I will be focusing on when progressing in this body of work.
Alongside the photographic moving image, I wanted to show some stills and film strips from the contact sheet. I felt even though they weren’t in video format they still had quite a bit of motion to them. I still wanted the viewer to be on the same level as the camera and have no faces in the images as I felt as though it would still distract from the image. The dress was chosen so that the model's legs wouldn’t be in the frame, again distracting the focus. This gave the image quite a few repeating curves that whilst didn’t distract, softened the image and gave it a more approachable feel.
This video is like the one taken on my Canon however, it is actually taken of film, scanned and put together in post. I wanted to also form a video from the film shots as that is my primary medium. I decided not to take off the edges to the scans as I felt it gave the images more context as to why the images were images rather than just filming the sequence outright.
From the last roll of film and the critique, I progressed onto my next where I thought about how the hands were the body, and the fingers were doing a dance. I have frequently worked in sequences and felt that this would be a good way to show motion in the still image. For this, I again gave some of my film development equipment to my model and this time discussed with them how to open the tank however, I didn’t show them and took a sequence of digital images whilst they opened the tank. Once in post, I put them all together however, I didn’t want to have the smooth video effect as that would take away the purpose of having the still image shots. I instead spaced each image 1 second apart so the sequence still had a recognisable photographic element to it. I still took the images from the same level as I felt any different and it would change too much EG: The viewer's perspective, the dance (it would then feel like a shot of a hand and not a body) etc.

This week I tested different-sized prints and how they sit in relation to the standard install. The large print that starts over the wall and ends off the screen is almost 5 meters long with each image being almost A1 size. This was intentional as I previously really enjoyed this scale for one image however it gave quite a contrasting effect with all the images printed to scale and continuous. The scale has frequently been something that I have struggled with personally and in my practice as sometimes if fail to imagine how truly large or small the outcome of my work will be. In this case, I did think it would be slightly smaller however, after seeing it installed I believe it was my preferred outcome. I feel as though the scale of the TV matches the film strip quite nicely through size but not over-stating the relation.
While I enjoyed the colour in the other video it felt out of place, I changed this video from colour to black and white as I felt it related more to the black and white film. I also added noise to give the grainy effect to also mirror the film further without overstating it by putting a film-like border to the video.
Some received feedback from this work was
The sensitivity of the paper that the images are printed on relates to the sensitivity of the film. It’s something that you need to handle with care
With the way the print lays can’t see it completely building the anticipation of wanting to see more
With the texture and type of paper, the ink sits heavy on the paper, however, that reflects the negative due to the fact that you don't always see all the details in the negative. The texture of the newsprint also speaks in relation to the grain of the black-and-white film
As I have not left the sprocket holes on the print or the scan the film aspect is not overstated as a roll of film
In the video the Apple watch is digital while being in an analog process, however, the digital photographs of the analog process are made to look analog. Each speaks to the other and how they can coincide. You don’t need to choose one or the other