Practice Development, Semester 2
Over the break, I struggled to create work. Not only was I burnt out, but I couldn't see the next steps for my practice. Others in my course had commented about a week or two before the mid-year assessment that the body of work I had already created felt complete, and that I could present it for my assessment. I did end up presenting it and was mostly happy with the outcome, and I was grateful for the feedback as I had hit a creative wall.
Throughout the rest of the break, I researched and looked into Infrared photography. This is something that had been suggested as feedback for my mid-year assessment. It is something that I am very interested in testing out for myself in the weeks to come.
WEEK 2
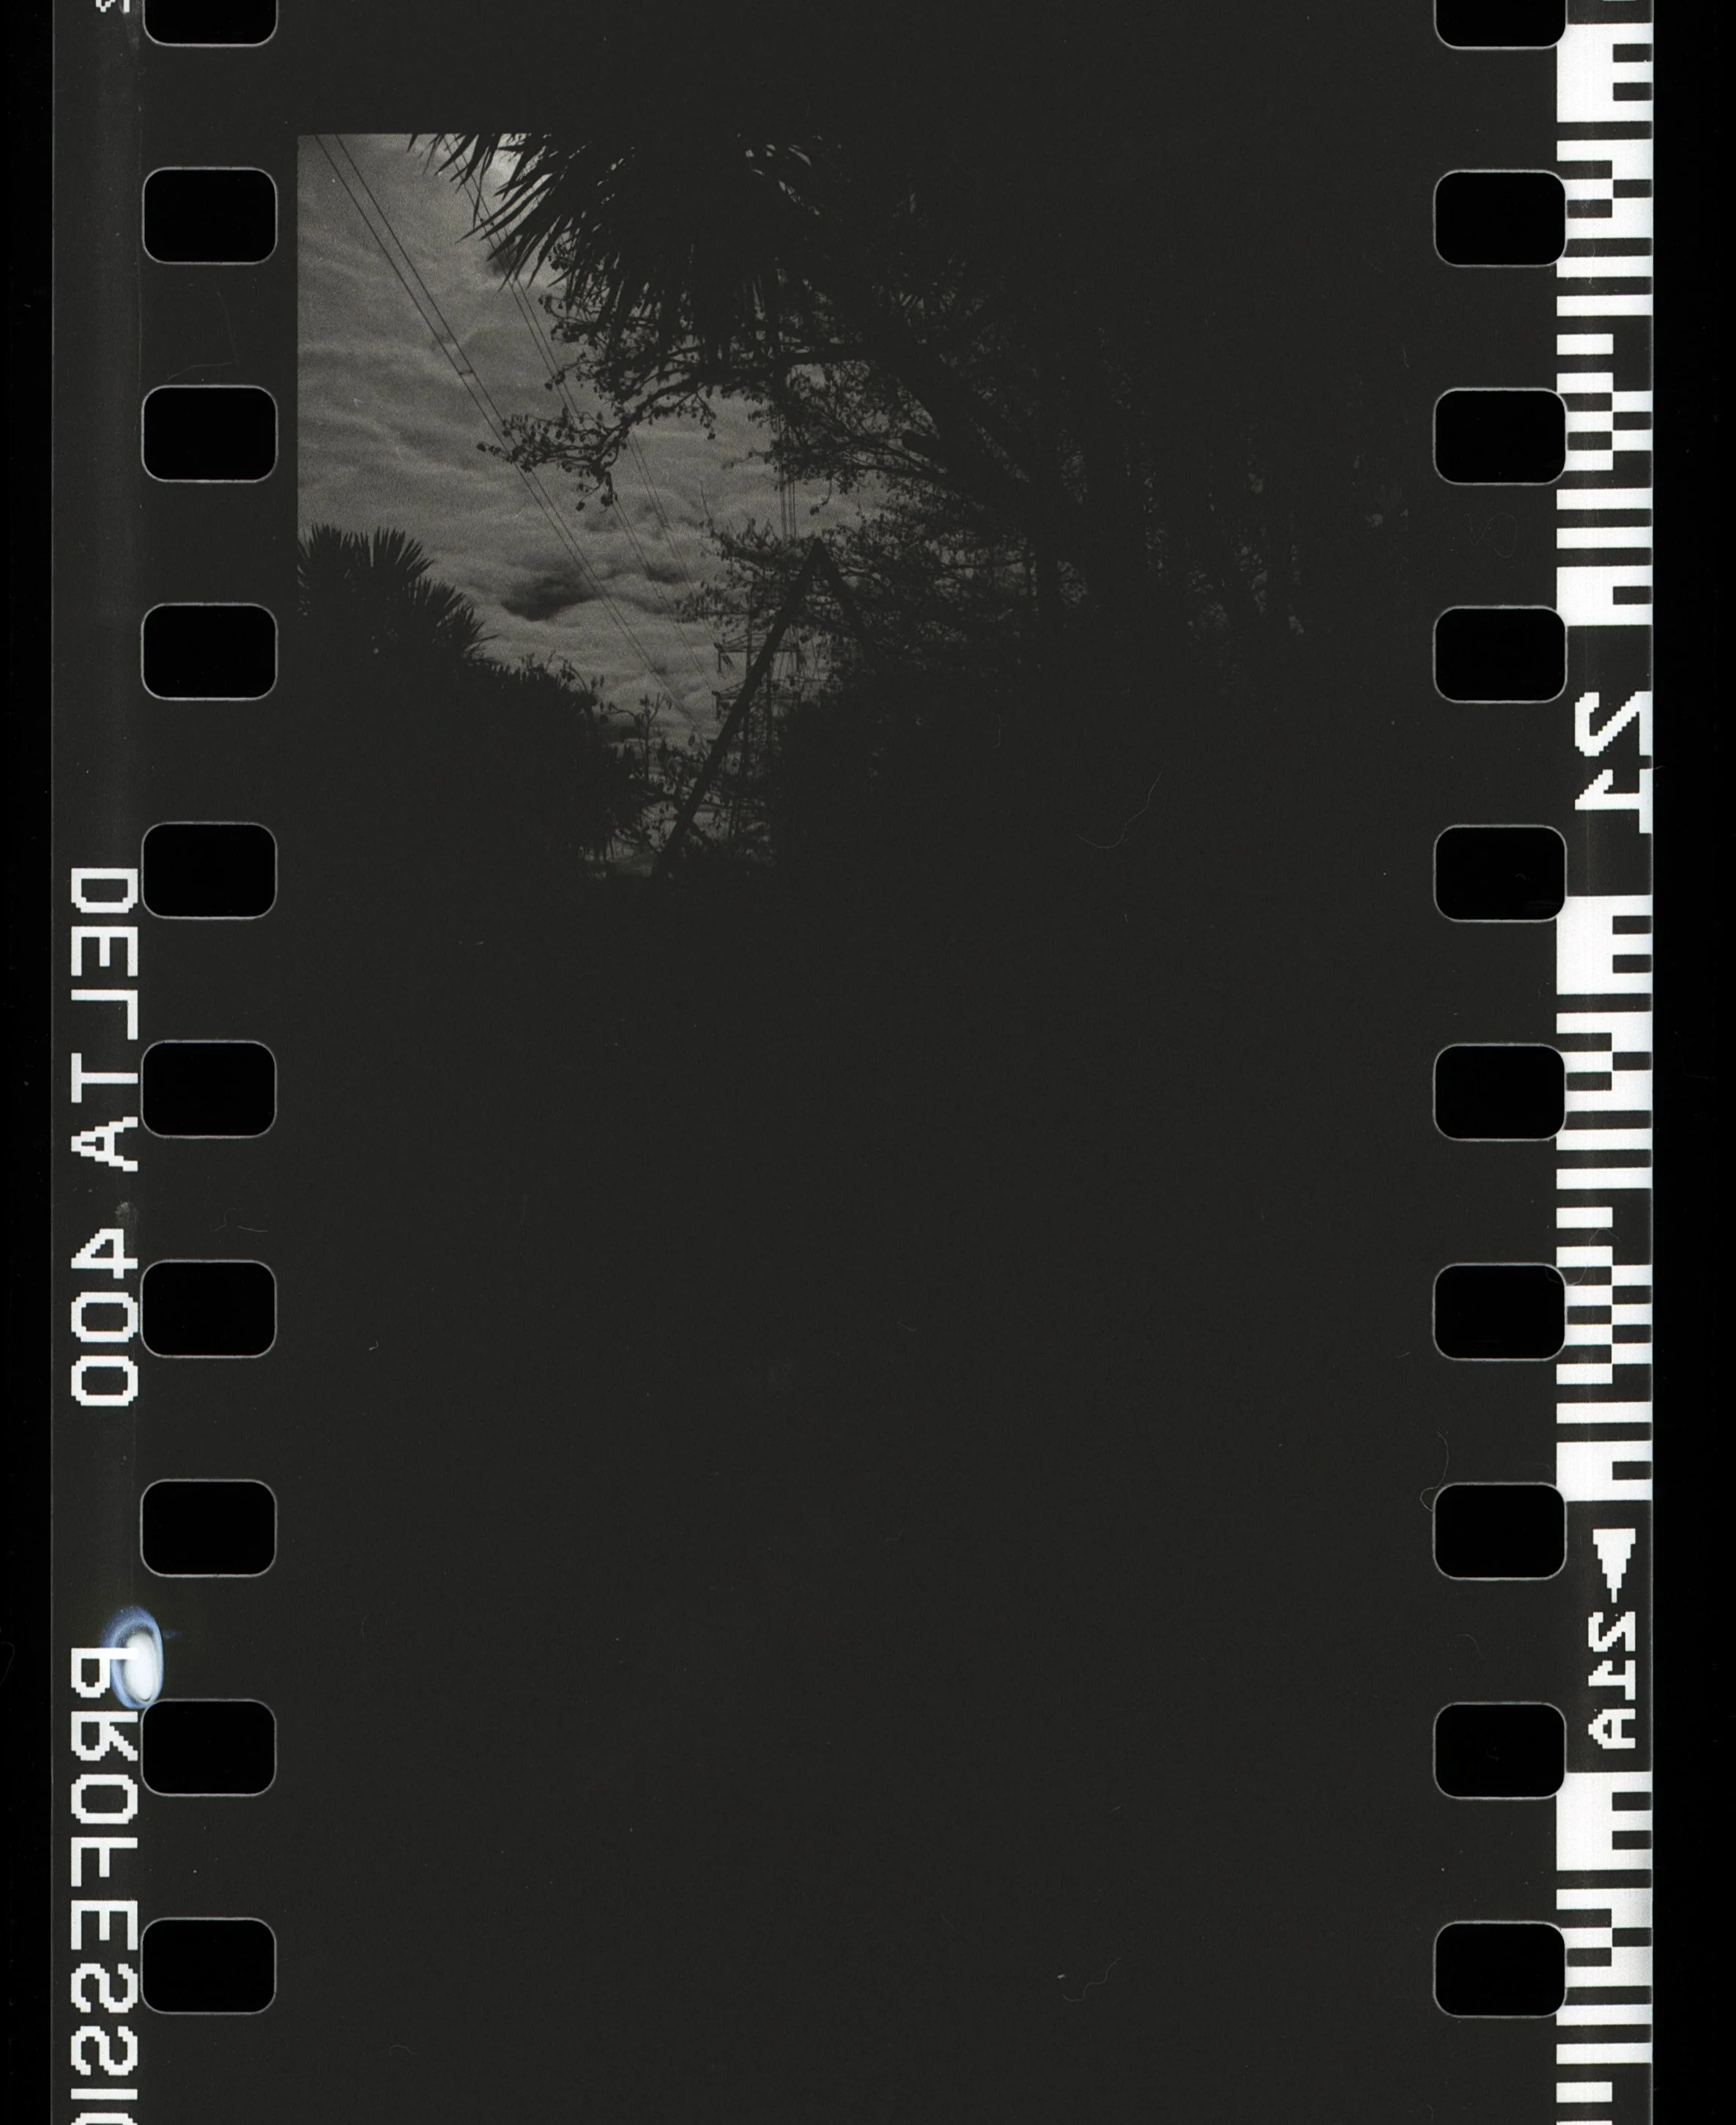
This week I shot my first roll of Infrared film. I used Ilford SFX 200 with the Zomei 720 filter. Since the film was still Black and White I was able to process the film at home as normal Black and White film.
The shots below are some of the best from this roll. Due to my extensive research over the break I was able to almost get perfectly exposed images on the first try. However, not all of the roll was a success. As such I now understand the whole process better and the differences in the setting in different lightings opposed to Black and White film. Through talking with Cornelius I have discovered that I can use Black and White film as Infrared film. I had heard that it could be a possibility however, I hadn’t been able to find much about it online. This will be my next test as I do want to explore further in this area.
With this Infrared test I wanted to be able to look back on some of the settings that I used for certain images. This is so that I may be able to replicate the results in the future and quite frankly it should have been something that I started much sooner.


Ilford SFX 200 35 Infrared Film
Zomei 58 270, Pentax MZ-5

WEEK 3
This week was a bit of a failure for me as I didn't achieve my desired result in a test shoot. However, I am able to learn from this experience and hopefully improve in the next one. I was attempting to use Black and White film with an infrared filter to create infrared images. I had taken photographs based on the previous roll with minor changes to the settings, while also taking safety images. However, I didn't realise how significantly the different ISO, combined with the filter, would affect the images. Consequently, none of the images showed up except for one, which, honestly, was the one I least expected to appear. This specific image had the sun almost directly pointing into the lens, rather than using a indirect light source which is how Infrared film is typically used.
For the next roll, I am planning to obtain a roll with a much lower ISO. The previous roll I used was Ilford Delta 400 Professional; however, for the next roll, I will be using Ilford Delta 100. It's worth noting that this ISO is even lower than that of the infrared film, so I will have to make adjustments accordingly. In addition to this, I did end up taking a few photographs in plain Black and White to finish off the roll, and they were perfectly exposed and developed. Along with capturing each photograph, I also took the time to write down all the relevant information for each shot so that I can refer back to it later.

Photographing with the Black and White test roll as Infrared
The only Infrared image to show up on the Black and White roll
WEEK 4
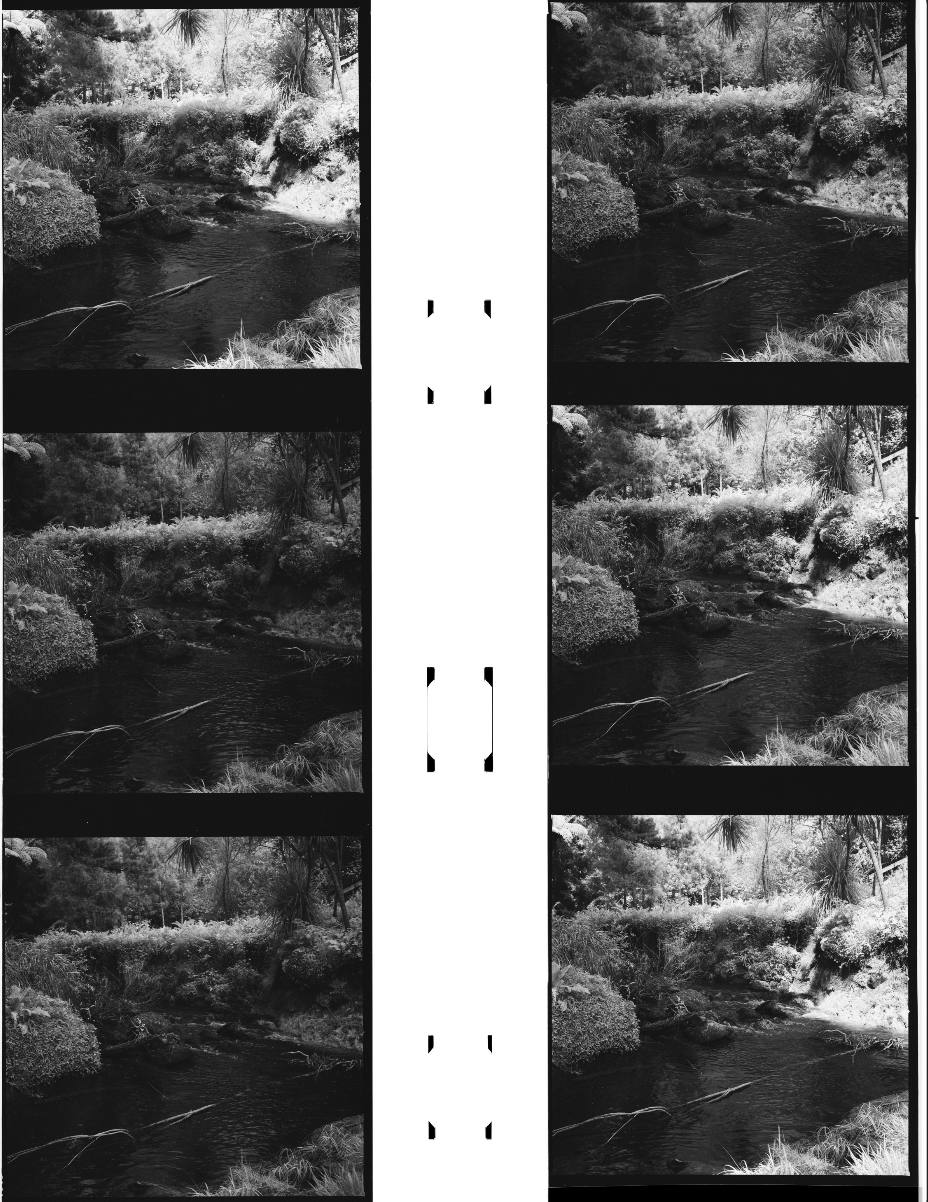
This week my main focus was creating a coherent installation involving the work that I had done last semester and the infrared that I have been working on so far. Talking with my lecturer I decided to revisit hanging my work on transparent paper while also working with projections. I tested a few different types of paper such as tracing paper and drafting film with an ink jet printer. I only attempted one print on the drafting film as when I returned to the print I found it had printed really well but there was a pool of ink sitting on top of the paper and three days later it still hadn’t dried. The tracing paper went a lot smoother I just had to keep a very close eye on it while it printed as the first print curled under itself and cause the print to lag, this resulted in large black lines in the middle of the print. Once I had successfully printed a well defined image on the transparent paper I decided to present/hang the work similarly to how I had presented my end of year install last year. Hanging the work with invisible thread, dowels and bull clips. I found this was the best method for hanging prints as not only did it speak to the film and home development process. It also prevented the work from curling and kept it straight.
The image on the print is of an over all scan of the film I used to create my mid year work. Originally I chose the image as it had a wide variety of tones and would allow me to judge the prints on different types of paper. However, I really like the look of the over view of all the film and not just picking out one to focus on. I enjoyed how you could see all the time and effort that went into the film development process that is so often hidden away when you select only one final image to present.


Video that was being projected

Floating image that was projected onto
Work installed
As for the infrared I decided to project the work as I liked how the different variations and reflections in tones would challenge the standard black and white. I also wanted to use a different mode of installation apposed to a tv that was a bit older in style thus reflecting the use of both digital and analogue tools that went into the installation.
This portion of the work was created by using infrared film (Ilford SFX 200) and a infrared filter. I then developed it at home, scanned it and put it together in IMovie to create a the video look. The reason I chose to do this rather than just filming something (other than the fact I wouldn’t be able to use infrared film) was because I enjoyed how it look as though it was a video and yet you could still tell that it was images. I also enjoyed how it referred to the old projectors and use of 16m film.
When I was shooting this week I tried to use Black and White film (Ilford Delta 100 Professional) as infrared film again however, it still turned out rather poorly so the same day I got another roll of infrared film (Ilford SFX 200) re-took the photographs and developed them. While they didn’t turn out perfectly I was still able to use the images for the projection.
Some of the feedback on this test installation that I received was
That the paper blocks out too much of the light from the projected image
Instead of using a printed image on tracing paper, I could use the developed film strips to project onto
The projected images where to dark
I agree that the paper blocked out to much of the light from the projector and that using the developed film to project onto would solve this problem. I also like how I can incorporate another aspect of film photography into the installation that would typically only even been seen by a select few. I am planning on following this path of exploration for talk week.
I also agree that the projected images where way to dark. This was a result of the shoots that I had done earlier in the week and the results of poor weather conditions and because I was still getting used to infrared film in different conditions. I already had wanted to reshoot this series of images however, needed something to show a proof of concept for this installation. (Have since already reshot these images)
After presenting my installation this week I had already planned to go and re-shoot the infrared images as I was happy with the quality that they turned out to be. Using the Ilford SFX 200 I re-shot a roll and it turned out a lot better than before but I still had a few missing images. However, I feel as though I am getting a better handle on infrared film. When shooting infrared film the light source impacts infrared film a whole lot more that standard film. With Black and White film if it’s over cast you may be changing the shutter speed a couple of stops, with infrared you almost have to double that.
WEEK 5 - Talk Week
What is talk week?
Talk week consists of two days in which the level 3 BVA, MVA and PHD students present an installation to a small group of their peers with a few guests from the industry along with a lecturer. They are allowed to say a little piece about the work and their general practice however, this session focuses on the installed work to provide feedback for the artist.

Talk Week - Installation
Statement presented to the talk week group,
“My practice is heavily based in a Analogue processes. I mainly focus on black and white film and have recently branched out into infrared. How I install my work is also an important factor. I have moved away from a more traditional installation style to allow room for creation of depth in my work. Today you can see that I used all these components in this installation to create a work that reflects the passage of time. How the analogue is mixed with the digital ways of working draws out this intention. The work was created by using infrared film that is developed, scanned and put together digitally then projected. The hanging piece was created using a roll of black and white film that I had developed and scanned as an overall look at the images.
One key component that I would like to add is that my practice is also heavily focusing on allowing me to have the space to perform. From the capturing of images to the developing and the scanning, it is all important for me to do, as with physical touch, spending time with items and people I am able to better understand the world.”
For my talk week installation it will be pretty similar to my previous installation with a few tweaks from the feedback I received. I have changed from a print to film to projected onto and re-shot the photographs in the projection.
Talk Week - Close up
Feedback received from talk week,
‘The objects (clouds and trees) in the sequence make them curious as to how much time was passing when the photographer (me) was actually taking the photographs. You can’t quite tell because the images are flickering so fast but your brain feels like it wants to know.’
Q: Do I want the viewer to know how much time was passing while taking the images?
A: ‘No because not knowing, in this case, is a lot more interesting than knowing.’
‘Finds it really visually compelling and feels like they should find the flickering annoying but it isn’t because of the way and the information around the way it was produced.’
‘I want the film hanging from the very top of the protection and giving a dripping effect. Another idea is to have the hanging film moving/swaying.’
‘There is something about the resolution and use of the digital scan being combined is really interesting’
‘Is the use of having only 6 shots of film dripping down a reflection of the structure of only being able to have film in strips of 6? What would happen if it was longer?
‘There is a very strong vertical element to the work’
WEEK 6&7
Week’s 6&7 was primarily focused on doing research while also reflecting on my talk week install. I felt drained from talk week and rather stuck with where to head next in my practice. Feeling this I decided to focus on my research to try and help myself gain a new perspective and ideas on how to develop further. My research from these weeks can be found along with all my other research here.

Op-shops are particularly good down in Taupo as there are less people to look through their items leaving some really good finds behind. This was no different. During my time there I found a slide projector which holds two slides at a time. Working with actual film projectors is something that I have been wanting to do since the beginning of this year and I feel now is the perfect time to test them out in relation to my progressing body of work.
Mid Semester Break
During the break I took some time to be with my family that wasn’t in Auckland but was down in Taupo. While there I took a roll of 36 Ilford Delta Professional 400 and used the whole roll for only two different shots. The first taking 19 frames and the second taking the rest of the 36 total frames. I wanted to see what a moving still image, like my infrared one in talk week, would look like with more frames to it. The one from talk week only had 5 images combined and some of the feed back I had received was a desired to see more images added into the work. The reason this was Black and White was due to my forgetfulness and not realising that I didn’t have any infrared film while down in Taupo. (Which is hard to find to begin with)

Week 8
This week I work on developing my film from the break and completing further research. I still don’t feel like I have a solid direct to head into with developing my practice further at this current time and as a result I am beginning to not enjoy trying to progress further in my current body of work. I feel, even though it never is finished, that this body of work feels complete. Please refer bellow to see my research.
Week 9
This week I worked on creating a body of work that was a confutation from talk week. I scanned the film that I had taken over the break and used Adobe Premiere Pro to compile the images, space them 1 second apart and repeat the images to create a loop 5 minutes long. Out of the shoot from the break I came away with two moving image works. One 19 frames the other 17.
When installing my work I used a projector and a plinth to give the projection some space off the floor. Through talking with a couple of my peers I talked through some of the issues that I had regarding the work. I felt un inspired to create and that my work had hit a dead end. Through moving a few parts of the installation around, raising the projector of the floor and positioning the projector head on to the wall, I found a new out look on the work. Thus generating more ideas to work with the following week.
Some feedback from the critique
“Why have it so analogue from a projector? You’ve gone through the whole physical practice process issuing analogue but then digitised using modern methods.”
I plan on using a film projector rather than a digital one however, with needing to present work, this is the cost affective solution.
N, likes the grain and noise of the film. Those add and speak to the materiality of the work.
We can feel the “greyness” of the day in both images
How would sound affect the viewers?
“I like it without sound and the current speed. You can tell it’s looping over itself and you are repeating this one moment over and over again where adding the sound might locate the place too much.”
The current version has its own rhythm where adding sound might disturb the original rhythm.
Week 10


This week I shot a roll of 120 infrared film with the Hasselblad. I wanted to shoot this so that I could digitise it, put it together to create a projection to sit along side my black and white digitised 35 film work.
With installing my work last week I felt that it was lacing/missing another element. Through talking to my peers I decided to combine both black and white as well as infrared film in the same installation.
I have it positioned in the corner of the room so that they both reflect each other yet are not opposite. I didn’t want them on opposite walls as I felt that the distance between the two projections was to far and they felt isolated from one another.
Some feedback that I received:
T, ‘It feels over exposed and yet when you look at other parts of the image, it isn’t so it leaves the viewer confused as to how the image was created.’ (Talking about the infrared 120 sequence)
T, ‘ It feels open and inviting but also emotional even though there is no context to why’ (Talking about the B&W 35 sequence)

Projections installed in the projection space

Week 11
This week I worked on my research and installation for the end of year assessment. Last week I had the two projections in the corner of the room each on seperate walls however, very close together. This week, through experimenting with different set ups using the projectors and media players, I am closer to finding my final layout for the end of year assessment/exhibition.
In the end, I had the two projectors facing opposite walls a meter and half from the wall with the projections being quite small. About the size of an A4 piece of paper.
I am happier with this sett up as when I had both projections in the corner of the room it felt like they where competing with one another. However, now you can appreciate each of them and spend time focusing on the one rather than trying to take them both in at the same time.
Some of the feed back that I received:
The 120 infrared work looks better darker when you can just make out the water traveling through the bottom of the work.
They preferred the projections of opposite walls.
Even if you don’t know my personal context around the 35 Black and White film, the heaviness and emotion still carries through the work.
If the viewer doesn’t have my personal context, they are still able to relate to it through their lived experience.
I should test out having a third projection. Content be somewhere in the middle of the two already produced works.
Week 12
This week, along with doing more research around my practice, I reflected on some feedback from the previous critique. I completed another shoot with Black and White, Ilford 120 film on the Hasselblad at Lucas Creek in Albany. I wanted to test having another work/projection in my installation with ties to both the 35 film and the 120 infrared film. I also considered the water flowing through the image and the projection. The push and pull of the lake, the river flowing into the back around and out of sight are some of the aspects of the previous projects I considered while choosing my subject. This time I wanted the water to be flowing vertically as to not replicate the previous works yet still have strong ties. Thus I landed on waterfalls as to be able to have those ties, yet still remain independent.
I chose Lucas Creek as I wanted a significantly sized waterfall to be the focus of the projection. Lucas Creek provided this along with the atmosphere surrounding the waterfall in the frame.
Apon installing all three projections, I decided that I want to have all three for the final exhibition as when you are in the space it feels more cohesive and makes the viewer move their body to each projection. Before you could forget that there was another projection, which has it’s benefits, like being able to entirely focus on one or the other. However, that did mean that they felt quite separated and even though they related to one another and I did prefer to have them on seperate walls rather than right next to one another like I had done previously, they where just to far apart and need something to bring them together. An anchor of sorts.
Some of the feed back that I received from this weeks 1 to 1 was,
The water flowing in the projections speaks to the use of water in the development process.
They have a visual way of working, a drawn out way of looking and observing over multi time frames.
Speaks to archival and current ways of working, relates to my whakapapa.
Water retains its shape and memories like the river that flows even after a storm.
There is a relationship to light in the projections, projector in the installation and the sun with the camera.
Overall from these comments I am confident and happy in my installation as these are all aspects and interests that I wanted to communicate through my work.
Weeks 13 - 15, Exhibition Prep
Over the following three weeks I began preparation for the end of year assessment/exhibition. I created three boxes which to put the projectors on top of as I felt laying the projectors on the floor was to low and the already made plinths where to high. They where laser cut out of a thin wood, glued together and held together by tape while drying, sanded and painted with three coats of paint.
While also continuing on with my research I finished the other pages on my website, contextual statement and submitted my work to the AD23 website. An archival website for all the final installations for the years graduating class.
When it came time to install I filled, sanded and painted the walls I was provided to install my final work on. I set up the projectors on top of the boxes I had created however, when it came time for cord management I discovered that I couldn’t hide the cords under the boxes and have the boxes sit flush with the floor. As a solution I drilled and sanded holes for the cords to slot through, allowing the boxes to sit flush on the floor. I spent a large portion of time on cord management making sure that the cords where tidy and not distracting from the work. Originally I was going to use white tape all along the cords to hide them but that just pulled your attention to them more rather than hid them. In the end I used black tape around the cords where necessary to hold them together and flow around the work and under the walls to the power point.


